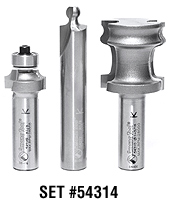


I’ve been really intrigued by the whole idea of wooden Tambour Doors for a long time, and been frustrated that I couldn’t source the router bits required to make a true tambour door, at least one that didn’t need wires or cloth backing. That is until I did a couple of router bit quizzes created by Toolstoday.com Having a look around their site and I found it:
The Tambour Door bit set. Drool.
So one day recently, on my doorstep was a box:
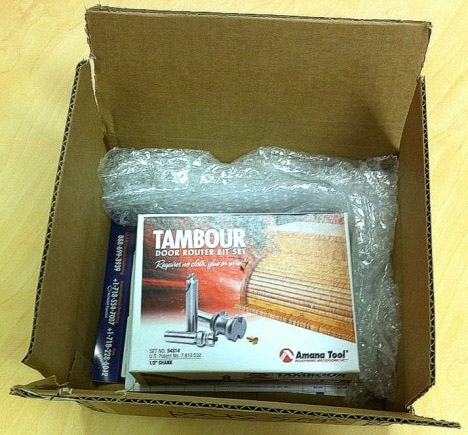
The complete plans for the breadbox (or a very American concept: the “appliance garage” – exactly what it sounds like) that is seen on the box cover.
A set of instructions. A reproduction of a review/instruction set from Fine Woodworking.
A DVD by on how to use the set to make a tambour door. It is a comprehensive video, and the whole thing is so tricky, it takes only 5 minutes or so to go through the whole process! It is THAT easy to produce a great result.
Oh, and the router bits – one to cut the outside of the slats, one to cut the groove, and a roundover bit for the handle. The final package contains the brass pull needed for the breadbox!
I haven’t gotten around to making the breadbox itself …..yet. Or some Appliance Garages (but I’m tempted). I have a real temptation to create a tambour door on the planned (and just-started) dartboard box.
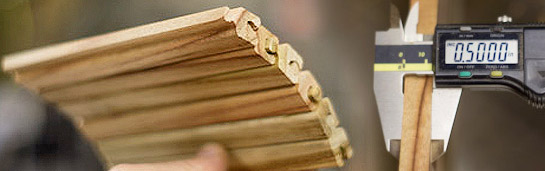
Started with a piece of camphor laurel, run it through on the flat on the planer and then squared up the first edge.
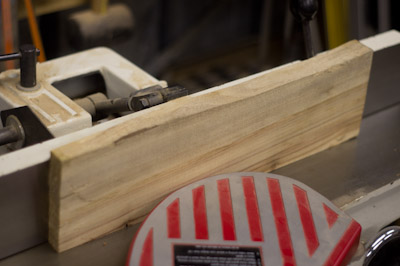
If you’ve ever worked with camphor, you can imagine what the workshop was smelling like about now. This is a piece from the log I originally resawed on the Torque Workcentre with the chainsaw attachment.
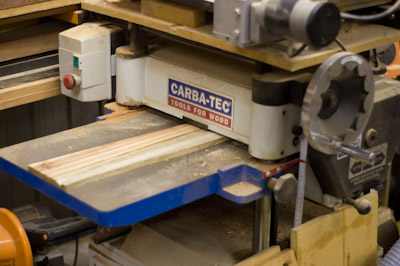
Next, it was off to the thicknesser. Been a while since I used it: forgotten how I like it – great machine.
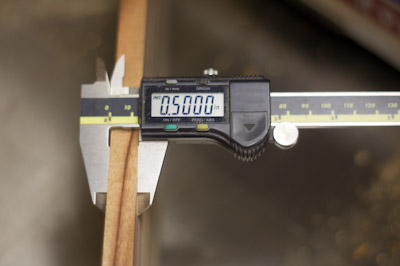
After a few passes, and measuring the results, I got it close to the 1/2″. Like really close.. Like within +/- 0.00005″. Nice
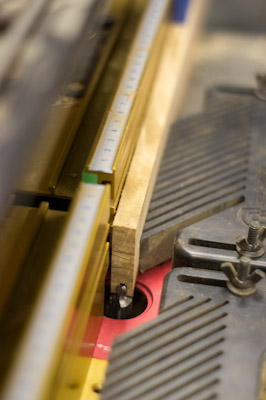
Finally, it was to the tablesaw to rip the board to the required width. With the aid of the Wixey Height Gauge, the fence was accurately set away from the blade, and then a second pass was taken with the blade just high enough to clear out the bulk of the material, so the ball-bit doesn’t have to work too hard. When this is shaped, it becomes the test piece to check for fit.
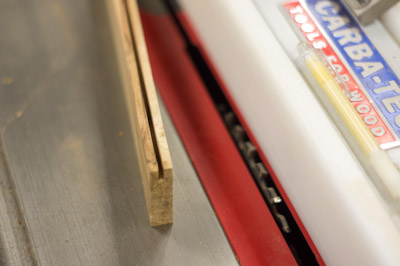
More on that in a bit (pardon the pun).
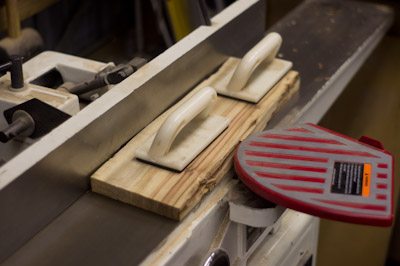
Off to the router table, and the profile bit installed and set at the correct height. MagSwitch featherboards to ensure the board is held against the fence.
The board is run through the bit, flipped end over end, and the top is also done. Next turn it around again and cut the other side, a final flip and all 4 sides are routed.
So easy!
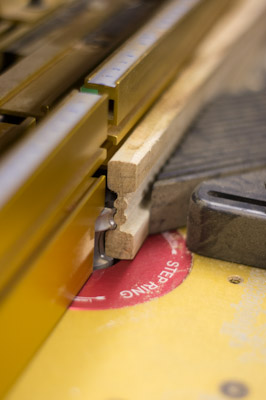
It is then back to the tablesaw to rip the slot top and bottom, ready for the ball-bit.
I know the photo shows the earlier cut, but ignore that for a second.
With the slot sawn, then routed, the final step is to split the two profiles apart.
It doesn’t matter if the ball has a slight flatspot – does not affect function, or look.
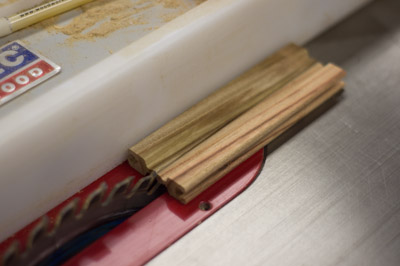
Very quickly, I had a whole set of tambour door parts. They slotted together very easily, and what I was left with, was a perfect camphor laurel tambour door!


Beautifully Simple
Simply beautiful. Awesome! And definitely a lot of fun.
Originally posted on May 7, 2012 by Stuart
Read the original article here