


Tips for Tool and Workshop Organization
Tool Organization in a Limited Workspace
When organizing your tools, the best thing to do is to mentally map out the specific tools are going to be used. Think of your workspace like a toolbox. You want to make sure that the tools you use frequently are easily accessible.
There is nothing worse than having to move something out of the way, especially if it is heavy, every time you want to do something. I once decided to put my band saw in front of the sheet goods storage area. I thought, “How often do I need to get into that storage area?”
Well, I needed to move the band saw about twice a week until I figured out that it was just taking too much time away from my project. Moving the band saw out, taking the material, and then moving the band saw back. In the end, I wised up and moved the band saw to a corner of the wood shop that was rarely used.

Organize Tools by Workflow
When mapping the locations for your different tools, think of the work flow. The raw material comes in and travels through the shop in a specific direction – phase after phase, it transforms from the raw material into your finished product. Your tools should be organized according to this process.
When I started my business, I was in a one-car garage and had no extra room to spare. I had to compartmentalize the different processes that go into creating a project.
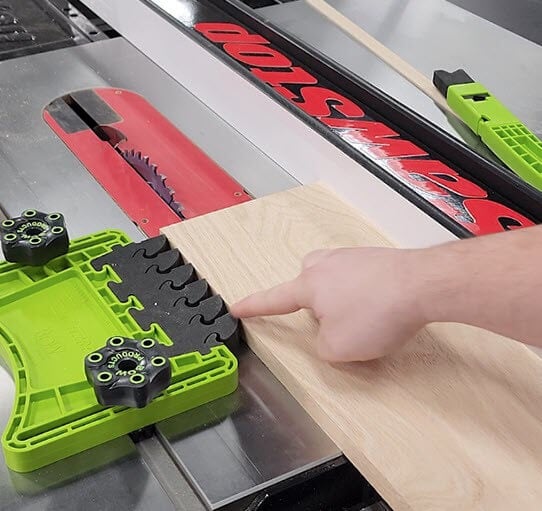
Since the table saw is one of the most commonly used tools and needs sufficient space all around it for different types of operations, I had it facing the driveway. This way I could make use of the exterior space on nice days.
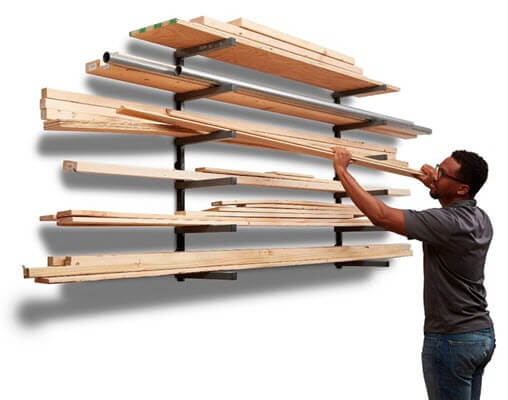
The catch table on the back end of the table saw became the workbench. Once the material was cut they were neatly stacked against one wall. The other wall had a chop saw anchored to a long wall bench and underneath is where I stored cut-offs.
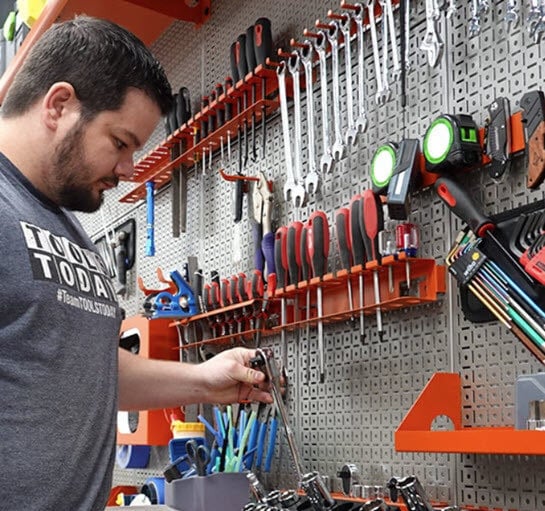
The back wall of the garage was where I kept my supplies; right above a back bench that stored all the hand held power tools, router bits, saw blades, shaper cutters, and other hand tools such as chisels and drill bits.
Tool Organization in a Small Woodshop
The problem when thinking about how to organize a workspace is always when a space is too small for the required project.
For instance, how do you get a 4 foot level into a two foot tool box? Sometimes you just need to, literally, think outside the box.
When I needed to spray lacquer in my little one-car garage, I vacuumed everything first, swept and mopped the floor, covered the tools with plastic sheeting, and wet the floor right before I sprayed to keep the dust down.
Eventually I was able to get this down to a science with a fan on one end sucking the air in and a fan on the other end blowing the air out. I had a revolving hanging rack that spun around over the table saw to hang the parts on and spray them evenly as well.
In the end, it seems that it is all about thinking outside the proverbial ‘tool’ box. We can’t always have the perfect scenario with every tool, router bit, or cutter, so we just need to figure out how to make what we have work and do the job that we need to do.
The last thing and the first thing to plan is always safety. Always do your research before beginning a project and always think twice before doing anything. Remember the old saying, “Measure twice and cut once.” This, I am confident in saying, works for the planning process too!