


Flush Trim Router Bits and Templates for Circular Shapes
This article provides the basic steps for starting a woodworking project, and creating circular shapes using flush trim router bits and templates.
Starting Your Woodworking Project
When starting a project, it is extremely important to do a mental walk-through of all the steps, tools, cutters, router bits, and materials. This process can lead to many questions like:
- How do you get an inside circumference to meet an outside circumference when adding moldings to a table edge?
- How do you make sure that like parts of your project are identical in dimension and pattern?
- Do you have the right router bits, saw blades, and shaper cutters for your project?
Getting half of the way into a project and discovering that you don’t have the necessary router bit can be frustrating and sometimes very time consuming! If you have a fully tooled woodshop, you may be able to wave the last question until you move into your project. However, most of us only have a few router bits and saw blades and therefore, need to economize a little.
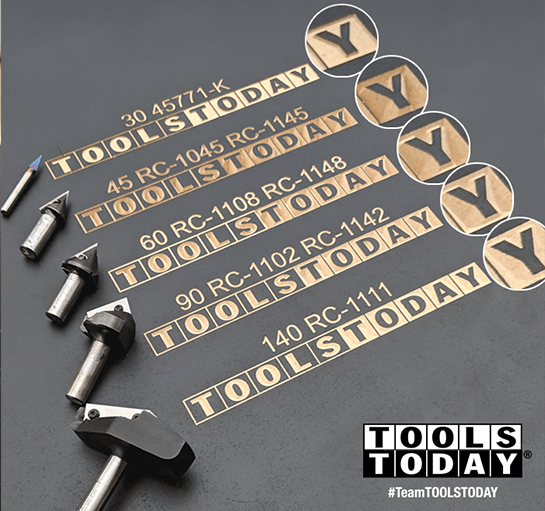
Flush Trim Router Bit Profiles for Making Flush Trim Templates
The most important router bits to own are router bits with flush trim bearings including:
• Standard straight bits
• Various round-over bits
For more complicated projects, straight router bits with top-bearings and straight router bits with bottom-bearings are indispensable. These router bits are a necessity for making flush trim templates and ensuring that all parts are equal in dimension, shape, and layout.
Flush Trim Router Bits and Templates for Circular Shapes
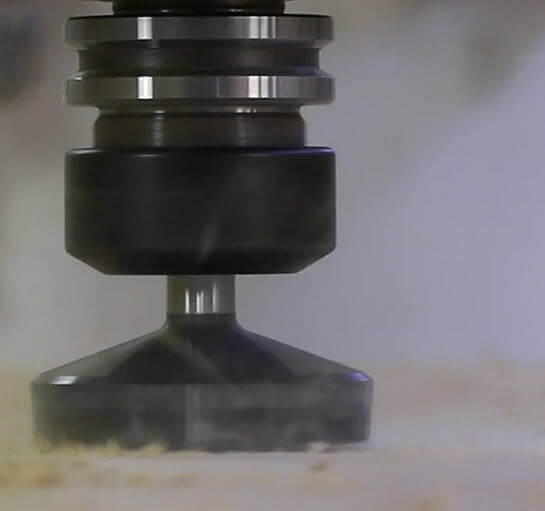
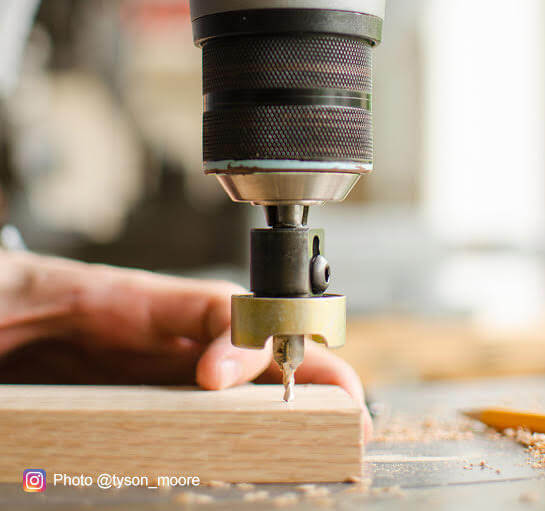
For circular shapes, such as small table tops, a shape needs to be cut with a template that has been created with a swing-arm attached to a router. The exact dimension of the radius of the table top will be determined by the distance from the center of the pre-drilled hole (for the center-pin to ride in as the router circumnavigates the template material) to the inside edge of the straight cut bit.
Once a pattern is created, it is then secured to the blank that will become the finished table and cut with a flush trim router bit. Keep in mind that the less material that needs to be cut and the larger the shank of the router bit, the more accurate and clean the cut will be.
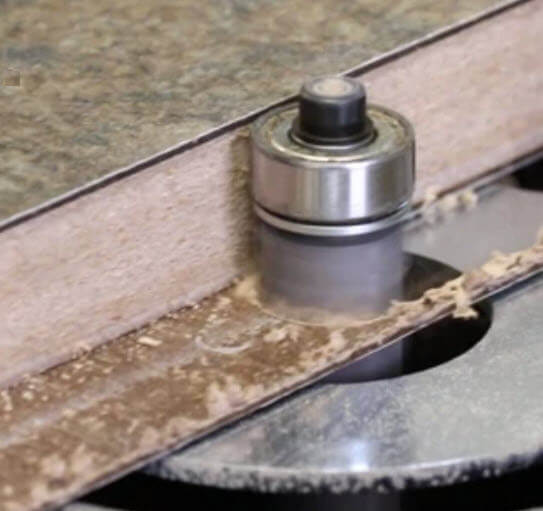
You can trace onto the blank with a pencil from the circular pattern that you make with the swing-arm and cut the excess off with a saber saw before you flush trim the final table edge with a 1/2 shank bottom bearing flush trim router bit.
The bottom bearing router bits can be a little trickier to clamp to a work surface then a top bearing router bit. However, it will produce a more accurate 90° angle at the edge. This is crucial for attaching edge-banding or curved moldings and ensures a wood-to-wood joint, without glue lines or gaps.
From Flush Trimming to Climb-Cutting
When the work is clamped down to the working surface with a slight overhang on top of the circular pattern, you should start by noticing which way the router bit spins in the router. This is important, since if the router moves across the work surface in the same direction as the bit is revolving, the router will try to climb up onto the edge and begin to race around the table surface too fast. This is called climb-cutting and can be used only in special circumstances for a final hair-depth cleaner pass.
You can draw onto the base plate of the router, right where it can be seen when making a cut, the direction of the spin of the router bit. This way, whether the router is upside down or right-side up, you won’t have a problem knowing which way to move the router when cutting or trimming an edge or even a profile.
This is much trickier, as you also want to avoid chipping the wood out or blowout, but sometimes climb-cutting is your only option.